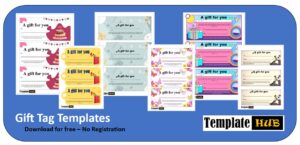
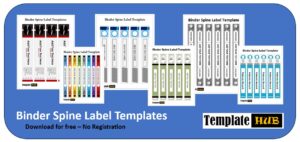
Download these Free Name Tag Templates hand-picked to help you prepare and print your Name Tags quickly and effectively.
Next time when you are in your office building and someone asks if you work here or if you are a guest, you should discuss having name tags in the next office meeting. This is one of the common problems of not having name tags when visitors and guests visit a workplace, they are not sure who is the employee and who is another guest just like them. A wise decision is to get name tags and ask your employees to wear these at all times when they are in the office. Not only that this will help visitors distinguish office employees but with the name printed on a name tag, the person next to you can call you by your name and can have a relaxed conversation instead of feeling awkward asking your name.
Free Name Tag Templates:
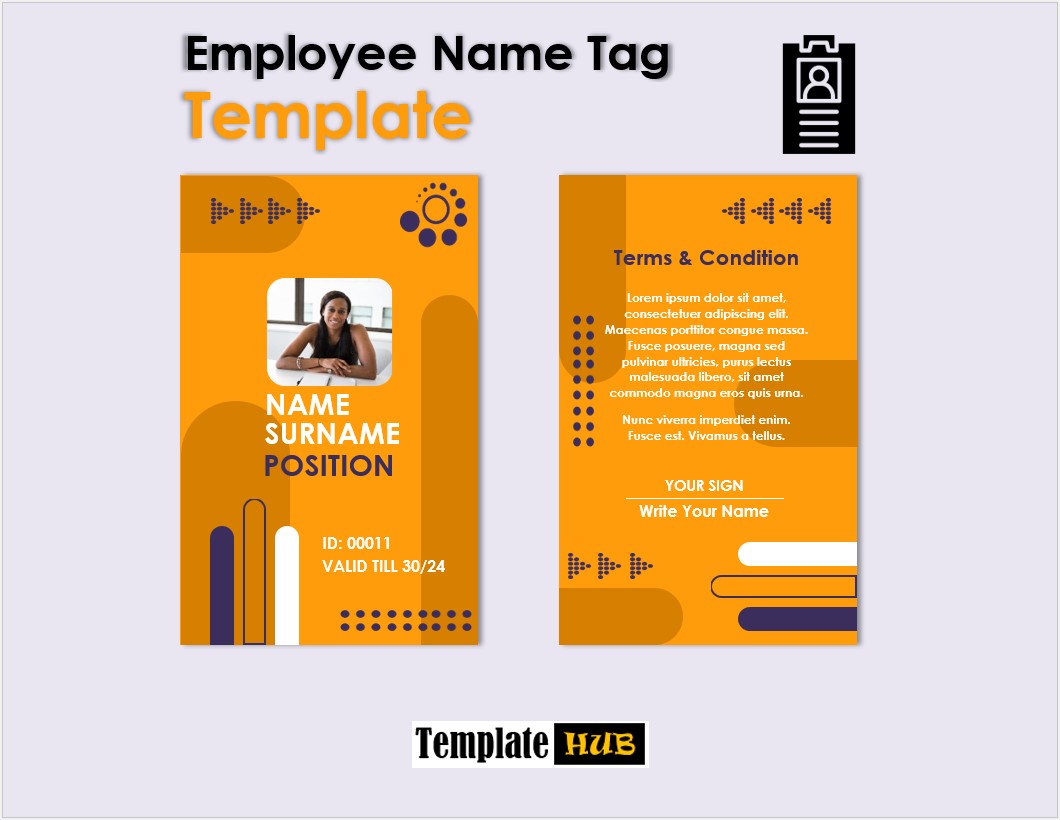
Here are previews and download links for these free Name Tag Templates in MS Word,


Guidelines to create a Name Tag Design:
- Decide if you want to use a template:
When it comes to common designs i.e. a name tag design, there are readymade templates available online. You can use these templates for your personal or office needs without paying anything because most of the basic designs are free of cost. On the contrary, some high-quality designs aren’t free because the designers took their time creating these unique and advanced name tag templates so you might need to pay some bucks. If it all sounds complicated, the good news is that you can also create the name tag design on your computer. You don’t need to have advanced knowledge of spreadsheets but just basic know-how of MS Excel will do fine. - Select the type of the name tag:
There are many types of name tags available these days. First of all, the most common type is the stickers that have adhesive paste on the back and you can just put them on any piece of cloth. These are great to use and easy to print but they can only be used for a limited time because, after a while, the glue will become less adhesive to the point where the tag won’t stick to any surface. These tags are ideal for seminars and events where people are supposed to wear them for just a few hours. On the other hand, if you are looking for a design that your employees can regularly, it’s better to go with cardstock paper and put them inside transparent white folders. These folders have built-in space to add a string so you can just put the tag around your neck or these can have a pin that you can stick through your shirt. - Choose the right size of the name tag:
When you to different offices and companies, you see different shapes and sizes of the name tags. Big organizations tend to have a more sophisticated and medium size of name tags while smaller companies with limited resources tend to have smaller and black and white name tags with basic design. The size of the name tag depends on what information you want to put on the tag, how the employees will wear it, and the budget you have for this assignment. If the name tag will just have the full name, designation, and department of the employee, using a smaller size will do the job. But, if you want to put your company name and logo and a scannable barcode on the bottom, the tag needs to be bigger. If the name tag has a barcode, it will be used by employees to sign in and out when they come to the office or leave in the evening.
Design the Actual Name Tag:
With all the above information in mind, you should have a clear picture in your head that this is what your name tag will look like. If that’s true, maybe it’s time to start creating the design. First, you need to create the basic layout in MS Excel where details of each employee will be placed. You can create a separate box for putting employee pictures, their names, and the department where they work. Smart companies who don’t have the resources to put their company logo and name on the name tag prefer to add a watermark or background of the name tag that has the company logo. You should make a list of the employees who will get name tags and then start putting their details in the layout one by one.

Kamran Khan is a seasoned blogger with a deep-seated passion for office document processes and the art of productivity. With a wealth of experience spanning over a decade, Kamran has become a trusted name in the blogging community, known for his insightful articles and practical solutions that help individuals and businesses streamline their daily operations.
